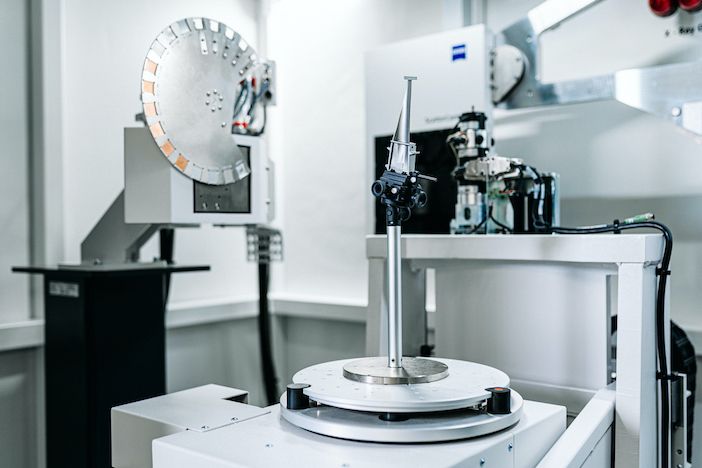
Turbine blade manufacturing is one of the most advanced and challenging processes in the aerospace world and is necessary so that the blades can endure tough high-temperature environments and demanding engine cycles.
Further, aircraft engine manufacturers must be able to demonstrate compliance with stringent quality regulations to ensure that these blades will not fail.
Benedikt Krist, product sales manager x-ray, Zeiss Industrial Quality Solutions says, “Turbine blade manufacturing is a complex process with many manual process steps today. There are hundreds of blades in an engine and lots of potential for Computer Tomography [CT] to provide production time savings and costs while reducing wastage.”
Casting of turbine blades involves several steps, beginning with a wax pattern and ceramic core. “At this stage, it is important to check there are no defects – cracks or pores – because they may lead to problems with the cooling in the engine and integrity of the part. Meanwhile, dimensional checks, like wall thicknesses and profile checks are critical to determine before the expensive metal pouring operation,” says Krist. The inspection method uses the Zeiss Metrotom series of equipment and takes just a few minutes per blade.
After the metal pouring and finishing operations, some critical checks need to be made. “Manufacturers use 2D digital x-ray up to 250Kv to check for any leftover ceramic core inside of the blade cooling passages. Blockages would again result in overheating problems,” Krist adds. Many manufacturers still use film-based processes yet Zeiss offers digital radiography and storage of 2D x-ray images which has many benefits in reduced time and costs for performance and storage.
Machining and inspection
The part is then machined, including tiny holes around 0.3mm in diameter in the airfoil. Verifying these cooling holes poses one of the most difficult inspection challenges.
“The holes are too small for a stylus and it is a challenging, time-consuming technique using an optical solution,” says Krist. “The only way to do it is with CT. Just one scan is enough.”
Coating
The blades are coated to give resistance to the high temperatures inside the engine. The thickness of this coating is critical to its effectiveness, too thin a coating results in failures.
Engine manufacturers evaluate the coating by placing a coupon next to the part being coated, so it receives the same treatment. That coupon is then placed in an epoxy resin, which is allowed to harden, then polished and sliced so the thickness can be measured. The process is usually performed once per shift to check the coating process and takes more than a day.
A CT microscopy process from Zeiss enables coating thickness to be inspected in just 2.5 hours, around a 90% reduction in time. “This process can save so much time and money. If the process goes out of line and you don’t find out until the next day you will potentially scrap a lot of parts,” says Krist.
In addition, ZEISS offers a 3D optical scanner that integrates with the CT portfolio. “Many of our customers have a 3D scanner already and are expanding their capabilities with a CT scanner,” says Krist.
The equipment uses the same software platform – GOM Blade Inspect. The commonality and familiarity improve throughput and make adding capabilities easier.
“We are expanding the capabilities of the Metrotom range of CT scanners to give new functionality to our aerospace customers. They will be able to make significant savings by using our 2D x-ray scanning, 3D scanners, and CT solutions in an integrated way.”
Additive manufacturing in the future
Engine manufacturers are increasingly considering the use of additive manufacturing (AM) as an alternative to casting turbine blades. AM is a faster and more sophisticated process that also brings with it several inspection challenges.
3D CT scanning has emerged as a viable way of inspecting AM parts. It enables fast inspection of the hollow structures and accurate measurement of wall thickness in turbine blades.
ZEISS has a partnership with metal-AM company EOS to develop ways to ensure the quality of AM-metal parts. “We have developed a deep knowledge of AM processes,” says Krist. “We can measure and evaluate AM-parts such as compressor blades, using CT scanning to check for defects and cracks.
“There is a lot of potential to increase the speed of manufacturing things like turbine blades with AM, but it needs advanced inspection technologies like 3D CT scanning for inspection.”
Krist concludes, “We aim to be a metrology solutions provider for aerospace companies – to supply the equipment, the software, the services and the maintenance. We offer one of the broadest portfolios on the market for metrology in aerospace, defense and space, from microscopy and CT to quality inspection production equipment.
“How our products can be used across the turbine blade manufacturing process illustrates how we can help engineers save time and money.”
Visit Zeiss Industrial Quality Solutions at Space-Comm, Farnborough 7th & 8th of June at stand L30 at Space-Comm Expo 2023 (eventdata.uk) (Register your place).


